

1. First you remove the existing silicone with a Stanley knife. Just cut along each side and you should be able to pull away most of the silicone strip. Be careful not to damage the bath/sink/shower, the tiles or your fingers! If you need to, you can use an old screwdriver to scrape along the area and lift some of the remaining silicone.
2. Then, when you have managed to remove most of the old silicone, carefully use a razor blade to scrape away any remaining bits that may still be stuck to the tiles/surface you want to apply the new silicone, too.
The area must be clean and completely dirt and silicone-free.
3. When the area is as clean as possible, use an old rag to wipe over the area with some turpentine (or turpentine substitute). This will remove any last trace of dirt and any grease which may stop the new silicone adhering.
4. Get prepared. Before applying new silicone, prepare a mixture of warm water and washing up liquid in a small container (you will have to throw it away when you have finished, so don’t use anything you want to keep). Make sure the water and washing up liquid mixture is very slippery.
5. Cut a very small opening at the tip of the nozzle of your silicone and pop the tube of silicone into a caulking gun. Now apply a thin strip of silicone along the gap you want to fill. It doesn’t have to be perfect, but try to be as neat as possible and don’t apply too much.
6. Smoothing the area. This can sometimes be tricky, but the water and washing up liquid mixture make things much easier. Just dip your finger into the liquid (make sure it’s slippery) and then, with as little pressure as possible, run your finger along the line of silicone, smoothing it out as you go. If you notice any resistance or have a silicone build-up on your finger, just dip it back into the water and wash up liquid to remove the dirt and make your finger slippery again.
7. Keep going until everywhere is smooth and make sure you let the silicone dry thoroughly.
That was it! As you can see, applying silicone is really easy. Removing the old and mouldy silicone took about an hour to do, but now the job is done, it makes such a difference. I can’t believe we put it off for so long.
If you want to make sure, that you have a perfectly straight line and a neat edge of the silicone, you could try using this method we use when applying caulk.
Source from: https://www.littlehouseonthecorner.com/how-to-apply-silicone/
.jpg)
.jpg)
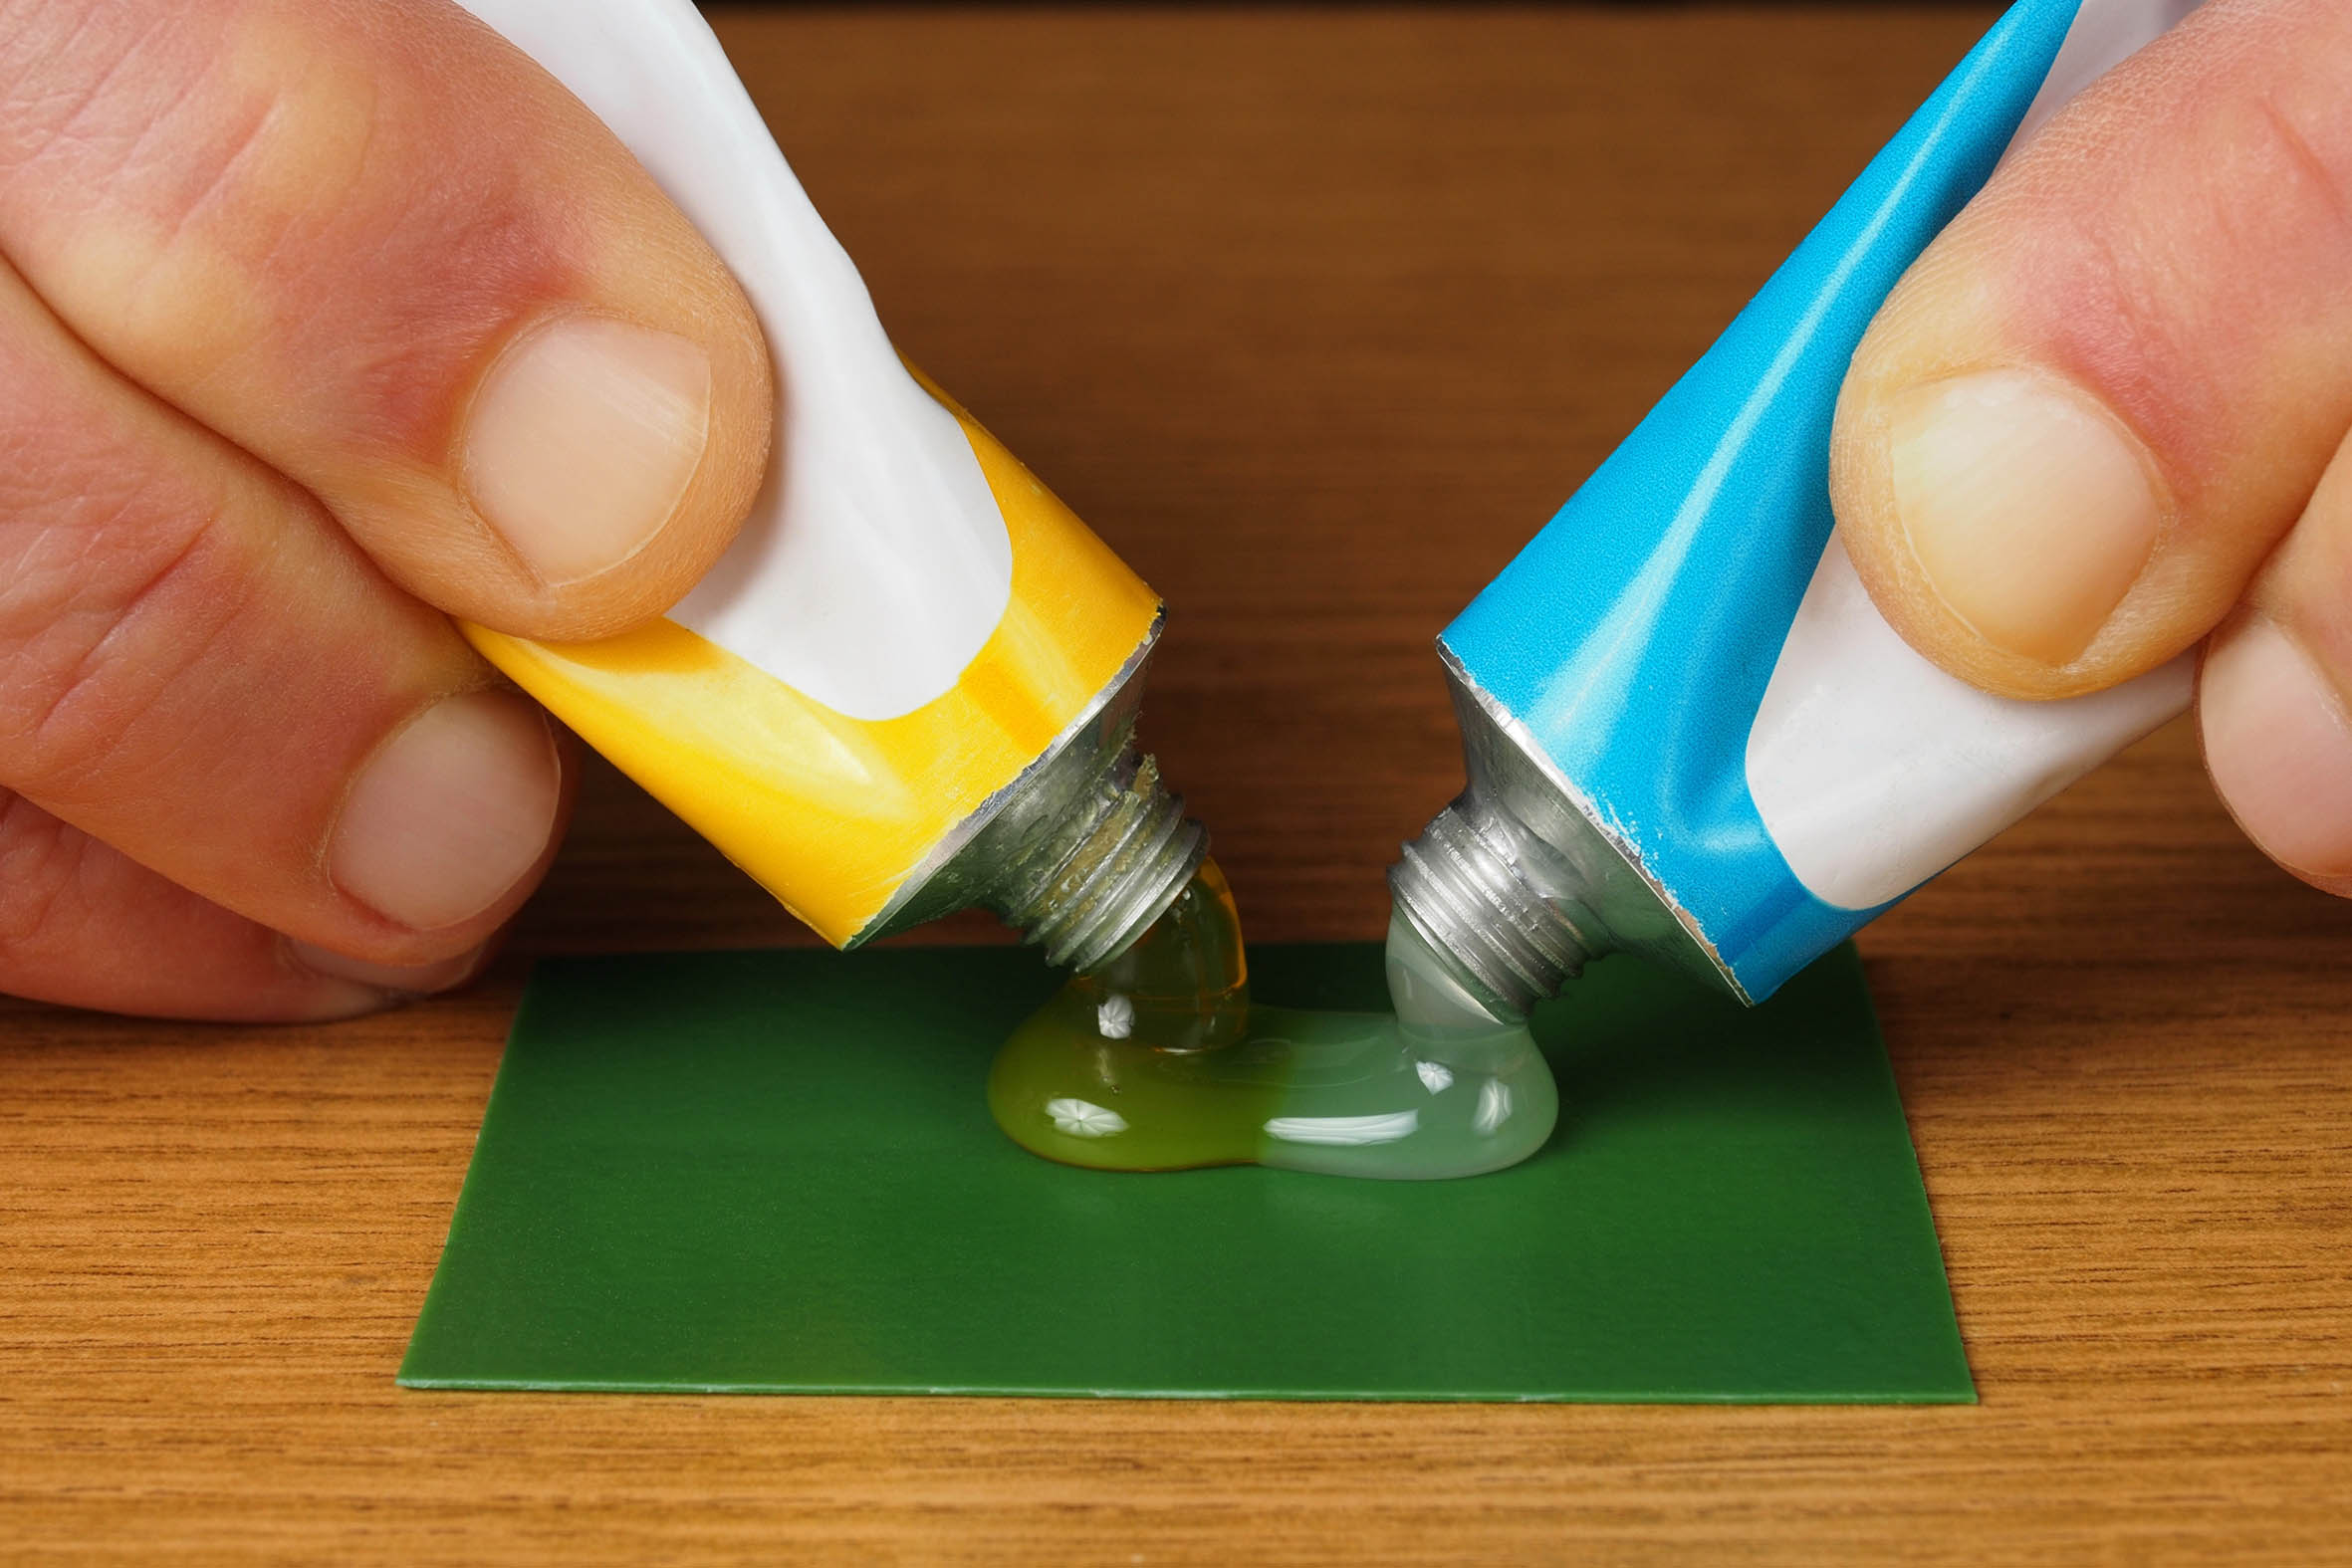
1. Make sure the surfaces to be joined are clean, dry and free from grease.
2. Roughens mooth, glossy surfaces.
3. Squeeze out equal amounts of Resin and Hardener. Mix thoroughly and use within 4minutes (if at 24-28°C room temperature).
4. Assemble parts and hold together with clamps, tape, string, or weights, etc. for at least 10 minutes.
5. The new repair can be machined after 2 hours and attains its full strength after 5 hours.